Ever played with AI chatbots and thought, “I wonder if I could build that?” Good news: you can, and it's easier than you might think!
In this tutorial, we'll build a simple AI chat app using two powerful tools: Flutter for the user interface, and Google's Gemini API for the backend - the intelligent conversation part. We'll guide you step-by-step, from creating the chat screen to connecting to the AI.
By the end, you'll have a working app and the confidence to add generative AI features to your own Flutter projects. Ready to build a piece of the AI future? Let's get started!
>> Read more: Flutter Performance Optimization: 3 Common Mistakes & Best Fixes
Prerequisites
Flutter SDK
In this blog, we assume you already installed Flutter and have done setting up Flutter as well as able to run your first application with Flutter. If not, heading to https://flutter.dev/ to download, install and start your very first Flutter application
Gemini API Key
This is our special key that lets our app connect to the Gemini AI model. Google provides these for free, and getting one is a breeze. Here’s a quick walkthrough:
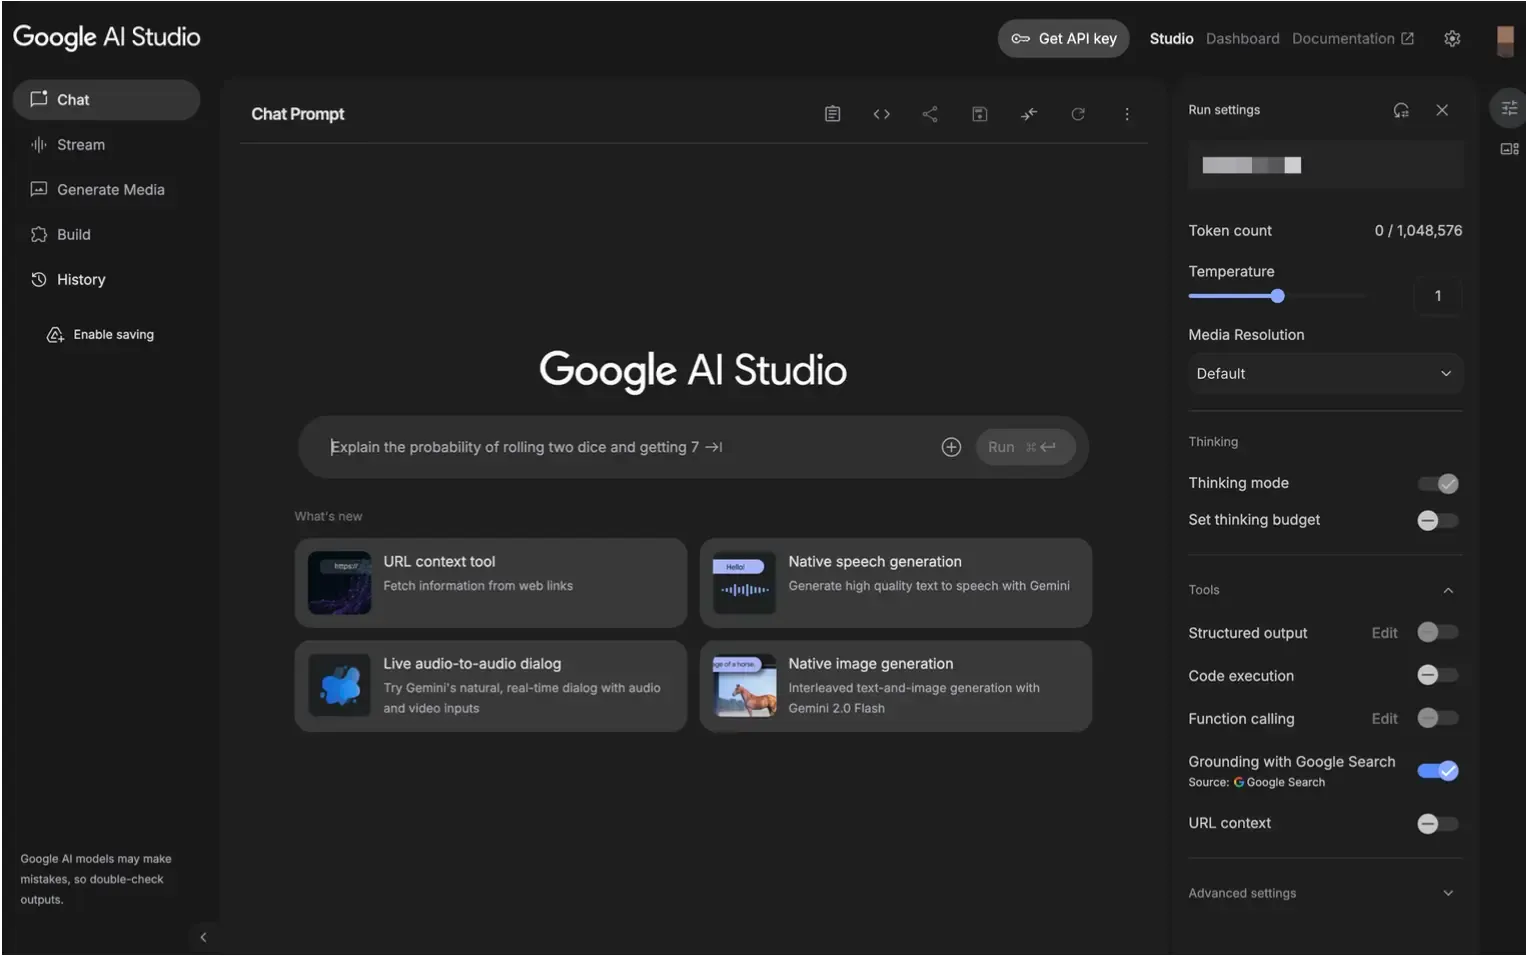
- First, head over to Google AI Studio and sign in with your Google account. If it's your first visit, you'll be asked to review and agree to the terms of service.
- Once you're on the main dashboard, look for a button that says "Get API key". It's usually located in the top left corner.
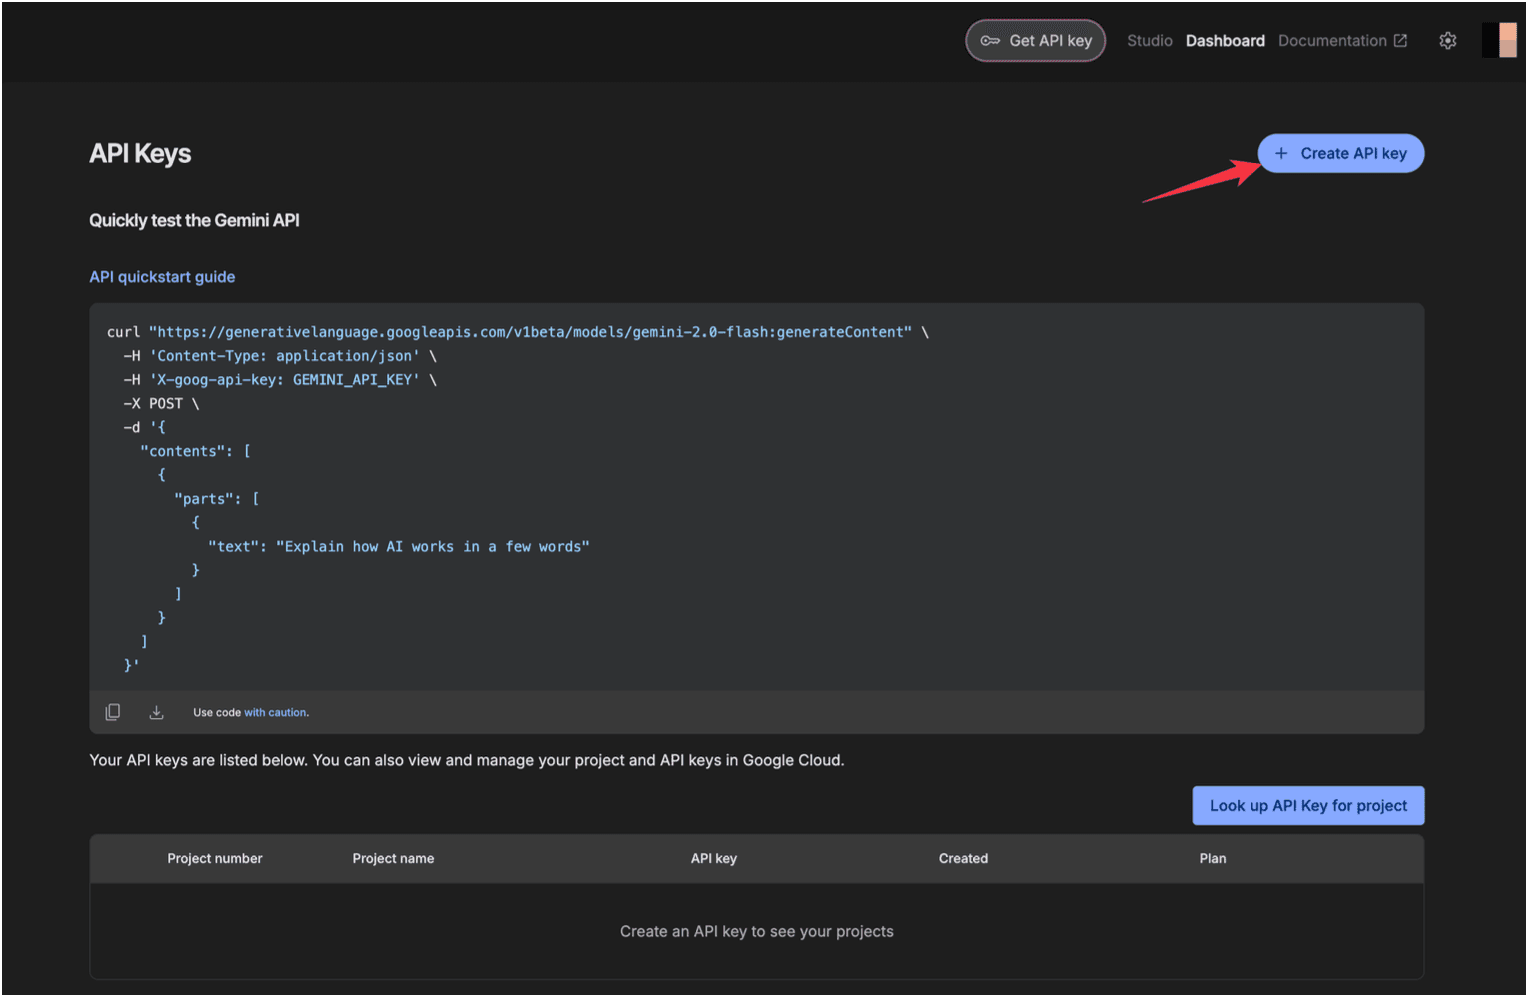
- Now, click the "Create API key" button. You may be prompted to associate this key with a new or existing Google Cloud project.
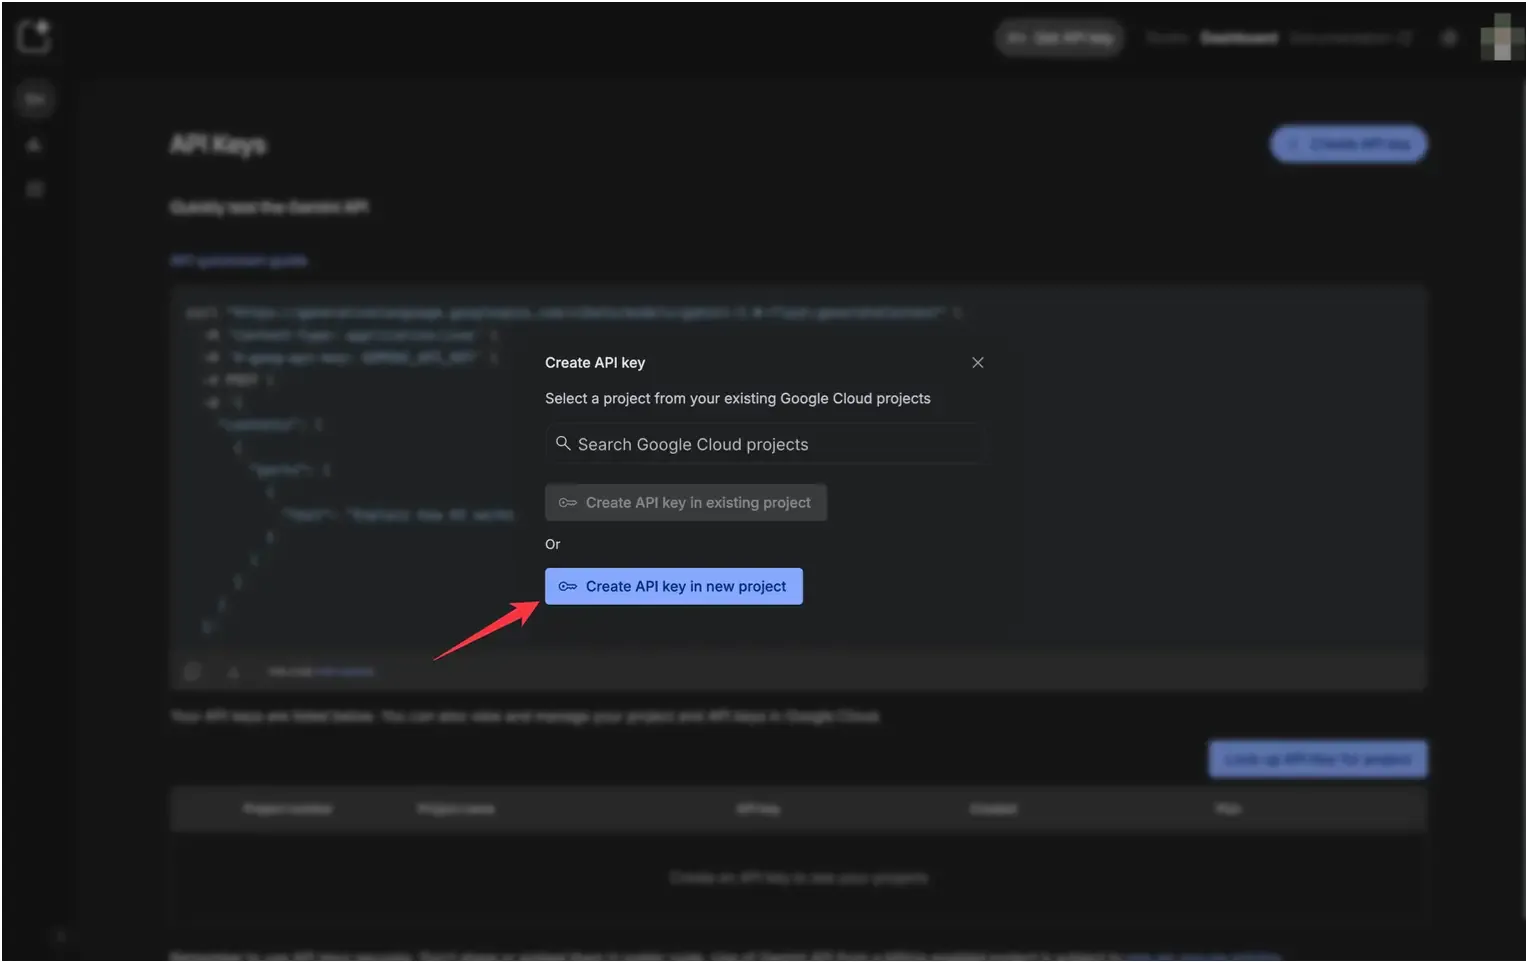
- And just like that, your API key will appear! It's a long string of characters. Click the copy icon next to it to save it to your clipboard.
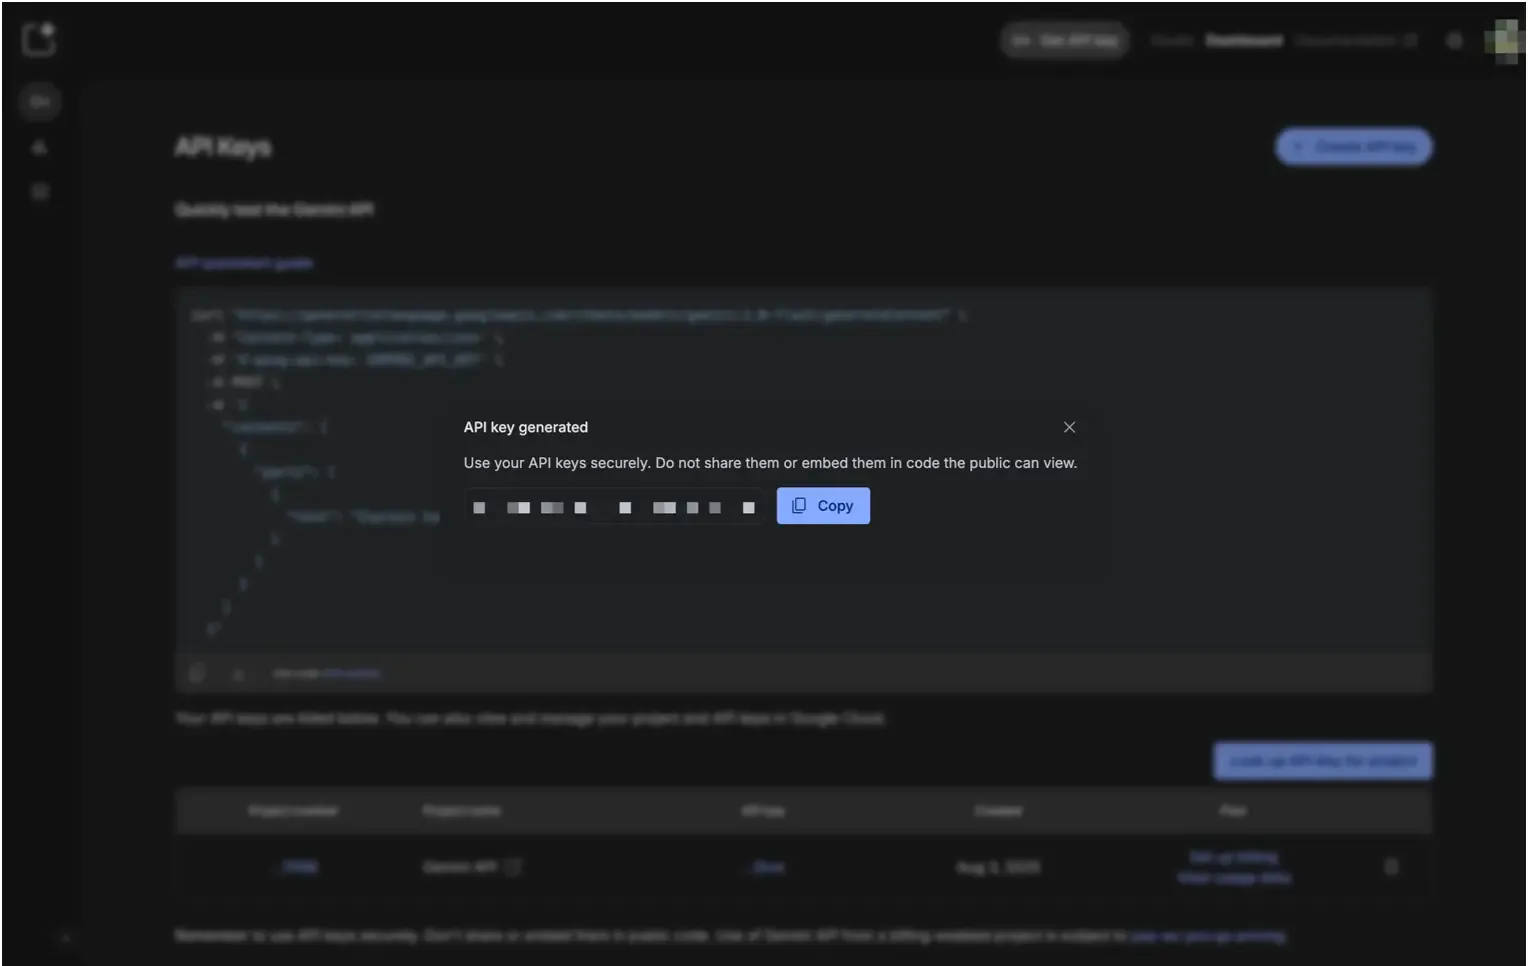
A Quick Word on Security: Your API key is powerful. Think of it like a password for your access to the Gemini service. It's crucial that you keep it secret. Never paste it directly into your code in a way that could be shared publicly, especially on platforms like GitHub.
Setting Up the Flutter Project
Alright, with the prerequisites out of the way, it's time to get our hands dirty and
create our Flutter project.
Create a New Project
Open your terminal or command prompt and navigate to the directory where you want to store your project. Then, run the following command:
flutter create gemini_chat_appThis command creates a new Flutter project named gemini_chat_app with all the necessary boilerplate code.
Add Dependencies
Next, we need to add a couple of packages: dio for handling our API requests and flutter_markdown to properly display formatted text from the AI. Run these commands in your terminal from the root of your project folder:
flutter pub add dio
    flutter pub add flutter_markdown
This command will automatically find the latest version of the dio package, add it to your pubspec.yaml file, and run flutter pub get for you.
Project Structure
A good project structure makes your code easier to manage as it grows. For this app, we'll keep it simple but organized. Inside the lib folder, create the following new folders:
models: This will hold our data classes. We'll create ourmessage.dartfile here.screens: This is where our top-level page widgets will live. We'll createchat_screen.dartfile here shortly.services: This folder will hold the logic for interacting with the Gemini API, such as ourapi_service.dartfile.widgets: This is for smaller, reusable UI components. We'll put ourmessage_bubble.dartfile in here.
This separation helps keep our data models, UI, services, and reusable components neatly organized, which is a great practice to follow.
Building the Flutter Chatbot UI
Now for the fun part: building the user interface! We'll start by defining our data
model and then create the widgets.
Message Model
Create a new file in lib/models/message.dart. This class will represent a single message in our chat. We've added an isStreaming flag to help our UI know when to use a simple Text widget (for the typewriter effect) versus the MarkdownBody widget (for the final, styled text).
// lib/models/message.dart
    class Message {
      final String text;
      final bool isUser;
      final bool isStreaming;
      Message({
        required this.text,
        required this.isUser,
        this.isStreaming = false,
      });
    }
Message Bubble
Next, create the reusable chat bubble widget in lib/widgets/message_bubble.dart. This widget will conditionally render its content. If it's an AI message that's still streaming, it will display a simple Text widget to avoid Markdown rendering glitches. Once complete, it will switch to MarkdownBody to correctly display any formatting like bold text or lists.
// lib/widgets/message_bubble.dart
    import 'package:flutter/material.dart';
    import 'package:flutter_markdown/flutter_markdown.dart';
    import '../models/message.dart';
    class MessageBubble extends StatelessWidget {
      final Message message;
      const MessageBubble({
        super.key,
        required this.message,
      });
      @override
      Widget build(BuildContext context) {
        final textStyle = TextStyle(color: message.isUser ? Colors.white : Colors.black);
        return Align(
          alignment: message.isUser ? Alignment.centerRight : Alignment.centerLeft,
          child: Container(
            margin: const EdgeInsets.symmetric(vertical: 4, horizontal: 8),
            padding: const EdgeInsets.all(12),
            decoration: BoxDecoration(
              color: message.isUser ? Colors.blue : Colors.grey.shade300,
              borderRadius: BorderRadius.circular(12),
            ),
            child: message.text.isEmpty && !message.isUser
                ? const SizedBox(
                    width: 20,
                    height: 20,
                    child: CircularProgressIndicator(strokeWidth: 2),
                  )
                : message.isStreaming
                    ? Text(message.text, style: textStyle)
                    : MarkdownBody(
                        data: message.text,
                        styleSheet: MarkdownStyleSheet(p: textStyle),
                      ),
          ),
        );
      }
    }
Chat Screen
Finally, let's build the main screen in lib/screens/chat_screen.dart. This StatefulWidget manages the list of messages, the loading state, and the scroll position, ensuring the chat view always shows the latest message.
// lib/screens/chat_screen.dart
    import 'package:flutter/material.dart';
    import '../models/message.dart';
    import '../widgets/message_bubble.dart';
    // We will import api_service.dart later
    class ChatScreen extends StatefulWidget {
      const ChatScreen({super.key});
      @override
      State<ChatScreen> createState() => _ChatScreenState();
    }
    class _ChatScreenState extends State<ChatScreen> {
      final TextEditingController _controller = TextEditingController();
      final ScrollController _scrollController = ScrollController();
      final List<Message> _messages = [];
      bool _isStreamingMode = false;
      bool _isLoading = false;
      void _scrollToBottom() {
        WidgetsBinding.instance.addPostFrameCallback((_) {
          if (_scrollController.hasClients) {
            _scrollController.animateTo(
              _scrollController.position.maxScrollExtent,
              duration: const Duration(milliseconds: 300),
              curve: Curves.easeOut,
            );
          }
        });
      }
      // Placeholder for the full _sendMessage logic
      void _sendMessage() {
        // Full logic will be added in the integration steps
      }
      @override
      Widget build(BuildContext context) {
        return Scaffold(
          appBar: AppBar(
            title: const Text('Gemini Chat'),
            actions: [
              const Center(child: Text('Stream')),
              Switch(
                value: _isStreamingMode,
                onChanged: (value) => setState(() => _isStreamingMode = value),
              ),
            ],
          ),
          body: Column(
            children: [
              Expanded(
                child: ListView.builder(
                  controller: _scrollController,
                  itemCount: _messages.length,
                  itemBuilder: (context, index) {
                    return MessageBubble(message: _messages[index]);
                  },
                ),
              ),
              if (_isLoading && !_isStreamingMode)
                const Padding(
                  padding: EdgeInsets.all(8.0),
                  child: CircularProgressIndicator(),
                ),
              Padding(
                padding: const EdgeInsets.all(8.0),
                child: Row(
                  children: [
                    Expanded(
                      child: TextField(
                        controller: _controller,
                        decoration: const InputDecoration(
                          hintText: 'Type a message...',
                          border: OutlineInputBorder(),
                        ),
                        onSubmitted: (value) => _sendMessage(),
                      ),
                    ),
                    IconButton(
                      icon: const Icon(Icons.send),
                      onPressed: _isLoading ? null : _sendMessage,
                    ),
                  ],
                ),
              ),
            ],
          ),
        );
      }
    }
>> Read more: 7 Best Approaches for State Management in Flutter
Integrating with the Gemini API
With our UI shell in place, it's time to connect our app to the Gemini API.
API Service Class
Create a new file in lib/services/api_service.dart. This class will centralize all our API logic, making our code clean and easy to maintain. It configures a dio instance with the base URL and API key, so we don't have to repeat them in every request.
// lib/services/api_service.dart
    import 'dart:async';
    import 'dart:convert';
    import 'package:dio/dio.dart';
    import '../models/message.dart';
    const String _apiKey = 'YOUR_GEMINI_API_KEY';
    class ApiService {
      final Dio _dio = Dio(BaseOptions(
        baseUrl: 'https://generativelanguage.googleapis.com/v1beta/models/gemini-pro',
        queryParameters: {'key': _apiKey},
      ));
      // Methods for API calls will go here
    }
Mode 1: Full Responses with generateContent
This mode waits for the full AI response before displaying it.
Making the Request
Add the sendMessage method to your ApiService class. This function takes the conversation history, formats it into the required JSON structure, and sends it to the :generateContent endpoint.
// In lib/services/api_service.dart
    Future<String?> sendMessage(List<Message> messages) async {
      try {
        final content = messages.map((msg) => {
          'role': msg.isUser ? 'user' : 'model',
          'parts': [{'text': msg.text}]
        }).toList();
        final response = await _dio.post(':generateContent', data: {'contents': content});
        return response.data['candidates'][0]['content']['parts'][0]['text'];
      } catch (e) {
        print('Error sending message: $e');
        return "Error: Could not get a response.";
      }
    }
Handling the Response & Updating the UI
Now, let's implement the full logic for _sendMessage in lib/screens/chat_screen.dart to handle this mode. The code below shows the combined logic for both streaming and non-streaming modes.
// In lib/screens/chat_screen.dart
    void _sendMessage() async {
      if (_controller.text.isEmpty || _isLoading) return;
      final userMessage = Message(text: _controller.text, isUser: true);
      setState(() {
        _messages.add(userMessage);
        _isLoading = true;
      });
      _scrollToBottom();
      _controller.clear();
      final conversation = List<Message>.from(_messages);
      final response = await _apiService.sendMessage(conversation);
      if (response != null) {
        setState(() {
          _messages.add(Message(text: response, isUser: false));
          _isLoading = false;
        });
        _scrollToBottom();
      }
    }
Mode 2: Real-time Responses with streamGenerateContent
This mode creates a dynamic "typewriter" effect.
Making the Streaming Request
Add the sendMessageStream method to your ApiService . This method hits the :streamGenerateContent endpoint and tells dio to handle the response as a stream of data, which we then process and clean up.
// In lib/services/api_service.dart
    Stream<String>? sendMessageStream(List<Message> messages) {
      try {
        final content = messages.map((msg) => {
          'role': msg.isUser ? 'user' : 'model',
          'parts': [{'text': msg.text}]
        }).toList();
        final responseStream = _dio.post<ResponseBody>(
          ':streamGenerateContent',
          data: {'contents': content},
          options: Options(responseType: ResponseType.stream),
        );
        return responseStream.asStream().transform(StreamTransformer.fromHandlers(
          handleData: (response, sink) {
            response.data.stream.listen((bytes) {
              String chunk = utf8.decode(bytes);
              chunk = chunk.replaceAll('data: ', '').trim();
              if (chunk.startsWith('{')) {
                try {
                  final json = jsonDecode(chunk);
                  sink.add(json['candidates'][0]['content']['parts'][0]['text'] as String);
                } catch (e) {
                  print("Error decoding chunk: $e");
                }
              }
            });
          },
        ));
      } catch (e) {
        print('Error sending message stream: $e');
        return Stream.value("Error: Could not get a response.");
      }
    }
>> Read more: Flutter Firebase Tutorial: Integrate Auth, Firestore, Storage
Handling the Stream
Here is the complete _sendMessage function for lib/screens/chat_screen.dart. It checks the _isStreamingMode flag and calls the appropriate ApiService method. For streaming, it uses an await for loop to process each chunk sequentially, ensuring the words appear in the correct order and the typewriter effect works perfectly.
// In lib/screens/chat_screen.dart
    import '../services/api_service.dart'; // Add this import
    // ... inside _ChatScreenState
    void _sendMessage() async {
      if (_controller.text.isEmpty || _isLoading) return;
      final userMessage = Message(text: _controller.text, isUser: true);
      setState(() {
        _messages.add(userMessage);
        _isLoading = true;
      });
      _scrollToBottom();
      _controller.clear();
      final conversation = List<Message>.from(_messages);
      if (_isStreamingMode) {
        final aiMessageIndex = _messages.length;
        setState(() => _messages.add(Message(text: "", isUser: false, isStreaming: true)));
        _scrollToBottom();
        try {
          final stream = await _apiService.sendMessageStream(conversation);
          if (stream != null && mounted) {
            await for (final chunk in stream) {
              for (var i = 0; i < chunk.length; i++) {
                await Future.delayed(const Duration(milliseconds: 30));
                if (mounted) {
                  setState(() {
                    _messages[aiMessageIndex] = Message(
                      text: _messages[aiMessageIndex].text + chunk[i],
                      isUser: false,
                      isStreaming: true,
                    );
                  });
                  _scrollToBottom();
                }
              }
            }
          }
        } catch (e) {
          if (mounted) {
            _messages[aiMessageIndex] = Message(text: "Error: ${e.toString()}", isUser: false);
          }
        } finally {
          if (mounted) {
            setState(() {
              _isLoading = false;
              _messages[aiMessageIndex] = Message(
                text: _messages[aiMessageIndex].text,
                isUser: false,
                isStreaming: false,
              );
            });
          }
        }
      } else {
        final response = await _apiService.sendMessage(conversation);
        if (response != null) {
          setState(() {
            _messages.add(Message(text: response, isUser: false));
            _isLoading = false;
          });
          _scrollToBottom();
        }
      }
    }
This is how our app should look like: https://youtu.be/5s6bkE9w0H4
Conclusion
Congratulations! You've successfully built a fully functional Flutter AI chatbot. We've covered a lot of ground, from setting up a clean project structure and building a chat UI, to connecting to the powerful Gemini API.
Most importantly, you've implemented two different ways to handle responses: waiting for the full text with generateContent, and creating a dynamic, real-time experience with streamGenerateContent, all controlled by a simple toggle in the UI.
This app is a fantastic starting point. If you're looking to take it to the next level, here are a few ideas:
- Implement Robust Error Handling: Our current
try-catchblock just prints to the console. A better approach would be to show aSnackBaror even an error message bubble in the chat list to inform the user that the message failed to send. - Save Chat History Locally: Make your conversations persistent by saving them to the device. You could use a simple package like
shared_preferencesfor this. - Improve the UI: Get creative! Add animations for new messages as they appear, implement a custom theme with different colors and fonts, or add features like timestamps to the message bubbles.
You've now got a solid foundation for integrating generative AI into your Flutter apps. The possibilities are virtually limitless. You could build smarter assistants, creative writing aids, or helpful in-app support bots. Keep experimenting, keep building, and have fun exploring the exciting world of AI-powered mobile development!
>>> Follow and Contact Relia Software for more information!

- coding
- development