Embarking on the journey of building a web application is an exciting endeavor, but ensuring that your code is not only functional but also robust and type-safe adds an additional layer of sophistication to your development process. In this multipart blog series, we'll guide you through the intricate process of constructing a fully type-safe web application, starting with the backend.
In Part 1, our focus is on constructing a robust and type-safe backend using NestJS, Prisma, Pothos, and GraphQL. By the end of this part, you'll have a solid foundation for your server-side logic, equipped with the power of type safety and efficient data management.
Let's dive in!
If you would like to have a completed code, I'll leave it at the end of this post.
Prerequisites
Before we dive in, make sure you have Node.js 20 installed on your system. If not, you can download it here.
>> Read more:
- Top 10 Best Node.Js Frameworks For Web Application Development
- How to Install Node.js on Ubuntu 22.04?
Let's get started by setting up our project.
mkdir project-folder
cd project-foldernpm i -g @nestjs/cliNow, let's create our backend (BE) project using NestJS.
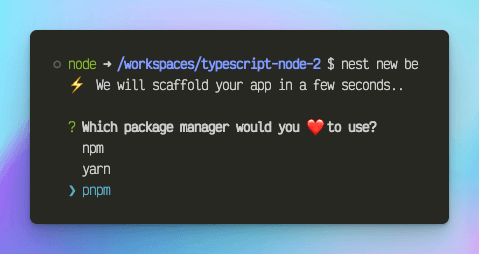
nest new beChoose your preferred package manager in this post, we'll use pnpm.
Navigate into the be folder.
cd beEnsure everything is working by starting the server.
pnpm start:devVisit localhost:3000 in your browser; it should be up and running.

Introducing Prisma and Pothos
Let's bring in the magic of Prisma and Pothos to enhance our application. Run the following command to install necessary dependencies.
pnpm add @apollo/server \
	@nestjs/apollo \
	@nestjs/graphql \
	@pothos/core \
	@pothos/plugin-prisma \
	@pothos/plugin-prisma-utils \
	@pothos/plugin-scope-auth \
	@smatch-corp/nestjs-pothos \
	@smatch-corp/nestjs-pothos-apollo-driver \
	graphql \
	jsonwebtoken \
	@prisma/client \
	bcryptjs \
	passport-jwt
For dev dependencies, run:
pnpm add -D @types/bcryptjs prismaLet's configure Prisma by initializing it and updating the prisma/schema.prisma file.
generator client {
  provider = "prisma-client-js"
}

datasource db {
  provider = "sqlite"
  url      = env("DATABASE_URL")
}

generator pothos {
  provider    = "prisma-pothos-types"
  prismaUtils = true
}

model User {
  id                Int       @id @default(autoincrement())
  email             String    @unique
  name              String?
  posts             Post[]
  comments          Comment[]
  encryptedPassword String?
}

model Post {
  id        Int       @id @default(autoincrement())
  title     String
  content   String?
  published Boolean?  @default(false)
  author    User      @relation(fields: [authorId], references: [id])
  authorId  Int
  comments  Comment[]
}

model Comment {
  id       Int    @id @default(autoincrement())
  author   User   @relation(fields: [authorId], references: [id])
  authorId Int
  post     Post   @relation(fields: [postId], references: [id])
  postId   Int
  comment  String
}
Update the .env file:
DATABASE_URL="file:./dev.db"In this blog, for the sake of providing you with all the benefits of type safety, we opt to use SQLite to minimize setup steps.
Create the initial migration:
npx prisma migrate dev --name initNext, generate the Prisma module and service:
npx nest g module prisma
npx nest g service prisma
Make slight adjustments to the module and service files.
// prisma/prisma.module.ts

import { Global, Module } from '@nestjs/common';
import { PrismaService } from './prisma.service';

@Global()
@Module({
  providers: [PrismaService],
  exports: [PrismaService],
})
export class PrismaModule {}// prisma/prisma.service.ts
import { Injectable, OnModuleInit } from '@nestjs/common';
import { PrismaClient } from '@prisma/client';
@Injectable()
export class PrismaService extends PrismaClient implements OnModuleInit {
async onModuleInit() {
await this.$connect();
}
}With Prisma set up, let's now proceed to create our GraphQL API.
User and Post Modules
Our application will feature a simple blog with user registration, post creation, and commenting capabilities. We'll organize our code into two modules: User and Post.
Update the app.module.ts file to include necessary imports and configurations.
// app.module.ts
import { ApolloServerPluginLandingPageLocalDefault } from '@apollo/server/plugin/landingPage/default';
import { ApolloDriverConfig } from '@nestjs/apollo';
import { Module } from '@nestjs/common';
import { GraphQLModule } from '@nestjs/graphql';
import { PothosModule } from '@smatch-corp/nestjs-pothos';
import { PothosApolloDriver } from '@smatch-corp/nestjs-pothos-apollo-driver';
import { AppController } from './app.controller';
import { AppService } from './app.service';
import { SchemaContext, createBuilder, createContext } from './builder';
import { PrismaModule } from './prisma/prisma.module';
import { PrismaService } from './prisma/prisma.service';
import { UserModule } from './user/user.module';
import { PostModule } from './post/post.module';
import { JwtModule, JwtService } from '@nestjs/jwt';

@Module({
  imports: [
    PrismaModule,
    UserModule,
    PostModule,
    JwtModule.register({
      global: true,
      secret: 'YourSecretKey',
      signOptions: { expiresIn: '365d' },
    }),
    PothosModule.forRoot({
      builder: {
        inject: [PrismaService],
        useFactory: (prisma: PrismaService) => createBuilder(prisma),
      },
    }),
    GraphQLModule.forRootAsync<ApolloDriverConfig>({
      inject: [JwtService],
      driver: PothosApolloDriver,
      useFactory: (jwtService: JwtService) => {
        return {
          introspection: process.env.NODE_ENV !== 'production',
          playground: false,
          context: (ctx: SchemaContext) => createContext(ctx, jwtService),
          plugins:
            process.env.NODE_ENV !== 'production'
              ? [ApolloServerPluginLandingPageLocalDefault()]
              : [],
        };
      },
    }),
  ],
  controllers: [AppController],
  providers: [AppService],
})
export class AppModule {}
You will notice that we are missing the UserModule and PostModule, but don't worry – we'll add them later.
Before introducing the PothosModule, we included the JwtModule, which will be used for encoding, decoding, and verifying JWT tokens. If you're unfamiliar with JWT, you can learn more here. Essentially, we utilize it for authentication purposes. In the PothosModule, we injected the PrismaService because the Pothos Prisma plugin requires access to the Prisma client.
However, there are still some missing elements that we need to address.
To work with Pothos, enabling strict mode in the tsconfig.json is necessary. This step provides us with all the advantages of type safety. Let's update tsconfig.json according to this.
{
  "compilerOptions": {
    "module": "commonjs",
    "declaration": true,
    "removeComments": true,
    "emitDecoratorMetadata": true,
    "experimentalDecorators": true,
    "allowSyntheticDefaultImports": true,
    "target": "ES2021",
    "sourceMap": true,
    "outDir": "./dist",
    "baseUrl": "./",
    "incremental": true,
    "skipLibCheck": true,
    "strictNullChecks": true,
    "noImplicitAny": false,
    "strictBindCallApply": false,
    "forceConsistentCasingInFileNames": false,
    "noFallthroughCasesInSwitch": false,
    "strict": true
  }
}
However, there are still some missing elements that we need to address.
To resolve this, let's create a builder.ts file in the src folder and insert the following code:
// builder.ts
import SchemaBuilder, { initContextCache } from '@pothos/core';
import PrismaPlugin from '@pothos/plugin-prisma';
import PrismaUtils from '@pothos/plugin-prisma-utils';
import PrismaTypes from '@pothos/plugin-prisma/generated';
import { PrismaClient } from '@prisma/client';
import { Request } from 'express';
import ScopeAuthPlugin from '@pothos/plugin-scope-auth';
import { ExtractJwt } from 'passport-jwt';
import { JwtService } from '@nestjs/jwt';

// Define the context type for the schema builder to use
// in the context of the GraphQL request lifecycle.
export interface SchemaContext {
  req: Request;
  userId?: number;
}

// Define the options for the schema builder.
interface SchemaBuilderOption {
  Context: SchemaContext;
  PrismaTypes: PrismaTypes;
  Scalars: {
    DateTime: {
      Input: Date;
      Output: Date;
    };
    Json: {
      Input: unknown;
      Output: unknown;
    };
  };
  AuthScopes: {
    public: boolean;
    loggedIn: boolean;
  };
}

// Create the schema builder.
export function createBuilder(client: PrismaClient) {
  const builder = new SchemaBuilder<SchemaBuilderOption>({
    plugins: [ScopeAuthPlugin, PrismaPlugin, PrismaUtils],
    prisma: { client },
    // Define the auth scopes for the schema builder.
    authScopes: async (context) => ({
      public: true,
      loggedIn: !!context.userId,
    }),
    scopeAuthOptions: {
      // Handle unauthorized and forbidden errors.
      unauthorizedError: (_, context) => {
        if (!context.userId) return new Error('Unauthorized');
        return new Error('Forbidden');
      },
    },
  });

  // Add query, mutation, and scalar types.
  builder.queryType({});
  builder.mutationType({});

  return builder;
}

export type Builder = ReturnType<typeof createBuilder>;

// Create the context for the schema builder, and extract the user ID to the context.
export async function createContext(
  ctx: SchemaContext,
  jwtService: JwtService,
): Promise<SchemaContext> {
  const init = initContextCache();
  try {
    const { req } = ctx;
    const token = ExtractJwt.fromAuthHeaderAsBearerToken()(req);
    if (!token) throw new Error('No token found');

    const payload = jwtService.verify(token);
    return { ...init, ...ctx, userId: payload.userId };
  } catch (error) {
    return { ...init, ...ctx };
  }
}
That's all we need for the setup. However, we can't start the app yet because we don't have any queries or mutations in our GraphQL schema. Let's proceed by working on the User and Post modules. Create the respective schema files.
npx nest g module user
npx nest g module post
touch ./user/user.schema.ts
touch ./post/post.schema.ts
In user.schema.ts, we will implement features for users to register an account, log in, and retrieve their profile. To accomplish this with Pothos, we will utilize the decorators from @smatch-corp/nestjs-pothos.
// user.schema.ts
import { Inject, Injectable } from '@nestjs/common';
import { JwtService } from '@nestjs/jwt';
import { User } from '@prisma/client';
import {
  Pothos,
  PothosRef,
  PothosSchema,
  SchemaBuilderToken,
} from '@smatch-corp/nestjs-pothos';
import * as bcrypt from 'bcryptjs';
import { Builder } from 'src/builder';
import { PrismaService } from 'src/prisma/prisma.service';

export class LoginResponse {
  user?: User;
  token?: string;
}

@Injectable()
export class UserSchema extends PothosSchema {
  constructor(
    @Inject(SchemaBuilderToken) private readonly builder: Builder,
    private readonly prisma: PrismaService,
    private readonly jwtService: JwtService,
  ) {
    super();
  }

  @PothosRef()
  user() {
    return this.builder.prismaObject('User', {
      fields: (t) => ({
        id: t.exposeInt('id'),
        email: t.exposeString('email'),
        name: t.exposeString('name', { nullable: true }),
      }),
    });
  }

  @Pothos()
  register() {
    this.builder.mutationField('register', (t) => {
      return t.prismaField({
        type: this.user(),
        args: {
          email: t.arg({
            type: 'String',
            required: true,
          }),
          name: t.arg({
            type: 'String',
          }),
          password: t.arg({
            type: 'String',
            required: true,
          }),
        },
        resolve: (_, _p, args) =>
          this.prisma.user.create({
            data: {
              email: args.email,
              name: args.name,
              encryptedPassword: bcrypt.hashSync(args.password, 10),
            },
          }),
      });
    });
  }

  @PothosRef()
  loginResponse() {
    this.builder.objectType(LoginResponse, {
      name: 'LoginResponse',
      fields: (t) => ({
        user: t.field({
          type: this.user(),
          nullable: true,
          resolve: (parent) => parent.user,
        }),
        token: t.field({
          type: 'String',
          nullable: true,
          resolve: (parent) => parent.token,
        }),
      }),
    });
  }

  @Pothos()
  login() {
    this.builder.mutationField('login', (t) => {
      return t.field({
        type: LoginResponse,
        args: {
          email: t.arg({
            type: 'String',
            required: true,
          }),
          password: t.arg({
            type: 'String',
            required: true,
          }),
        },
        resolve: async (_, args) => {
          const user = await this.prisma.user.findUnique({
            where: { email: args.email },
          });

          if (!user) {
            throw new Error('User not found');
          }

          if (
            !bcrypt.compareSync(args.password, user.encryptedPassword || '')
          ) {
            throw new Error('Invalid password');
          }

          return {
            user,
            token: this.jwtService.sign({ userId: user.id }),
          };
        },
      });
    });
  }

  @Pothos()
  me() {
    this.builder.queryField('me', (t) => {
      return t.prismaField({
        type: this.user(),
        authScopes: {
          loggedIn: true,
        },
        nullable: true,
        resolve: (_, __, ___, ctx) => {
          return this.prisma.user.findUnique({
            where: {
              id: ctx.userId,
            },
          });
        },
      });
    });
  }
}
The code here is quite straightforward and self-explanatory. We leverage decorators from @smatch-corp/nestjs-pothos to articulate the schema, using @PothosRef() to define the type and @Pothos() to specify queries or mutations. One notable aspect is the inherent type safety throughout the code. Attempting to pass an incorrect type to a function is caught, preventing mismatches such as passing type: 'Int' to a type: 'String' field. This enhances the reliability of your code and minimizes errors, making the developer's life easier. Special thanks to Pothos and Prisma for simplifying the development process.
Now, let's apply the same principles to the Post schema.
// post.schema.ts
import { Inject, Injectable } from '@nestjs/common';
import {
  Pothos,
  PothosRef,
  PothosSchema,
  SchemaBuilderToken,
} from '@smatch-corp/nestjs-pothos';
import { Builder } from 'src/builder';
import { PrismaService } from 'src/prisma/prisma.service';

@Injectable()
export class PostSchema extends PothosSchema {
  constructor(
    @Inject(SchemaBuilderToken) private readonly builder: Builder,
    private readonly prisma: PrismaService,
  ) {
    super();
  }

  @PothosRef()
  comment() {
    return this.builder.prismaObject('Comment', {
      fields: (t) => ({
        id: t.exposeID('id'),
        comment: t.exposeString('comment'),
        author: t.relation('author'),
      }),
    });
  }

  @PothosRef()
  post() {
    return this.builder.prismaObject('Post', {
      fields: (t) => ({
        id: t.exposeID('id'),
        title: t.exposeString('title'),
        content: t.exposeString('content', { nullable: true }),
        author: t.relation('author'),
        comments: t.relation('comments'),
      }),
    });
  }

  @Pothos()
  findAll(): void {
    this.builder.queryFields((t) => {
      return {
        posts: t.prismaField({
          type: [this.post()],
          resolve: (query, _, args) =>
            this.prisma.post.findMany({
              where: args.filter || undefined,
              ...query,
            }),
        }),
        myPosts: t.prismaField({
          type: [this.post()],
          authScopes: {
            loggedIn: true,
          },
          resolve: (query, _, args, ctx) =>
            this.prisma.post.findMany({
              where: {
                authorId: ctx.userId,
              },
              ...query,
            }),
        }),
      };
    });
  }

  @Pothos()
  create(): void {
    this.builder.mutationField('createPost', (t) => {
      return t.prismaField({
        type: this.post(),
        args: {
          title: t.arg({
            type: 'String',
            required: true,
          }),
          content: t.arg({
            type: 'String',
          }),
        },
        authScopes: {
          loggedIn: true,
        },
        resolve: (query, _p, args, ctx) => {
          return this.prisma.post.create({
            data: {
              title: args.title,
              content: args.content,
              author: {
                connect: {
                  id: ctx.userId,
                },
              },
            },
            ...query,
          });
        },
      });
    });
  }

  @Pothos()
  commentPost(): void {
    this.builder.mutationField('commentPost', (t) => {
      return t.prismaField({
        type: this.comment(),
        args: {
          postId: t.arg({
            type: 'Int',
            required: true,
          }),
          comment: t.arg({
            type: 'String',
            required: true,
          }),
        },
        authScopes: {
          loggedIn: true,
        },
        resolve: (query, _p, args, ctx) => {
          return this.prisma.comment.create({
            data: {
              comment: args.comment,
              author: {
                connect: {
                  id: ctx.userId,
                },
              },
              post: {
                connect: {
                  id: args.postId,
                },
              },
            },
          });
        },
      });
    });
  }
}
We've set up the GraphQL schemas and resolvers for user-related and post-related functionalities. In part 2 of this series, we'll explore how to implement the frontend using Next.js and GraphQL Codegen, ensuring a fully type-safe development experience.
>> Read more about TypeScript coding: Mastering Utility Types in TypeScript For Better Code
Feel free to explore the GraphQL playground at localhost:3000/graphql and test the provided queries and mutations.
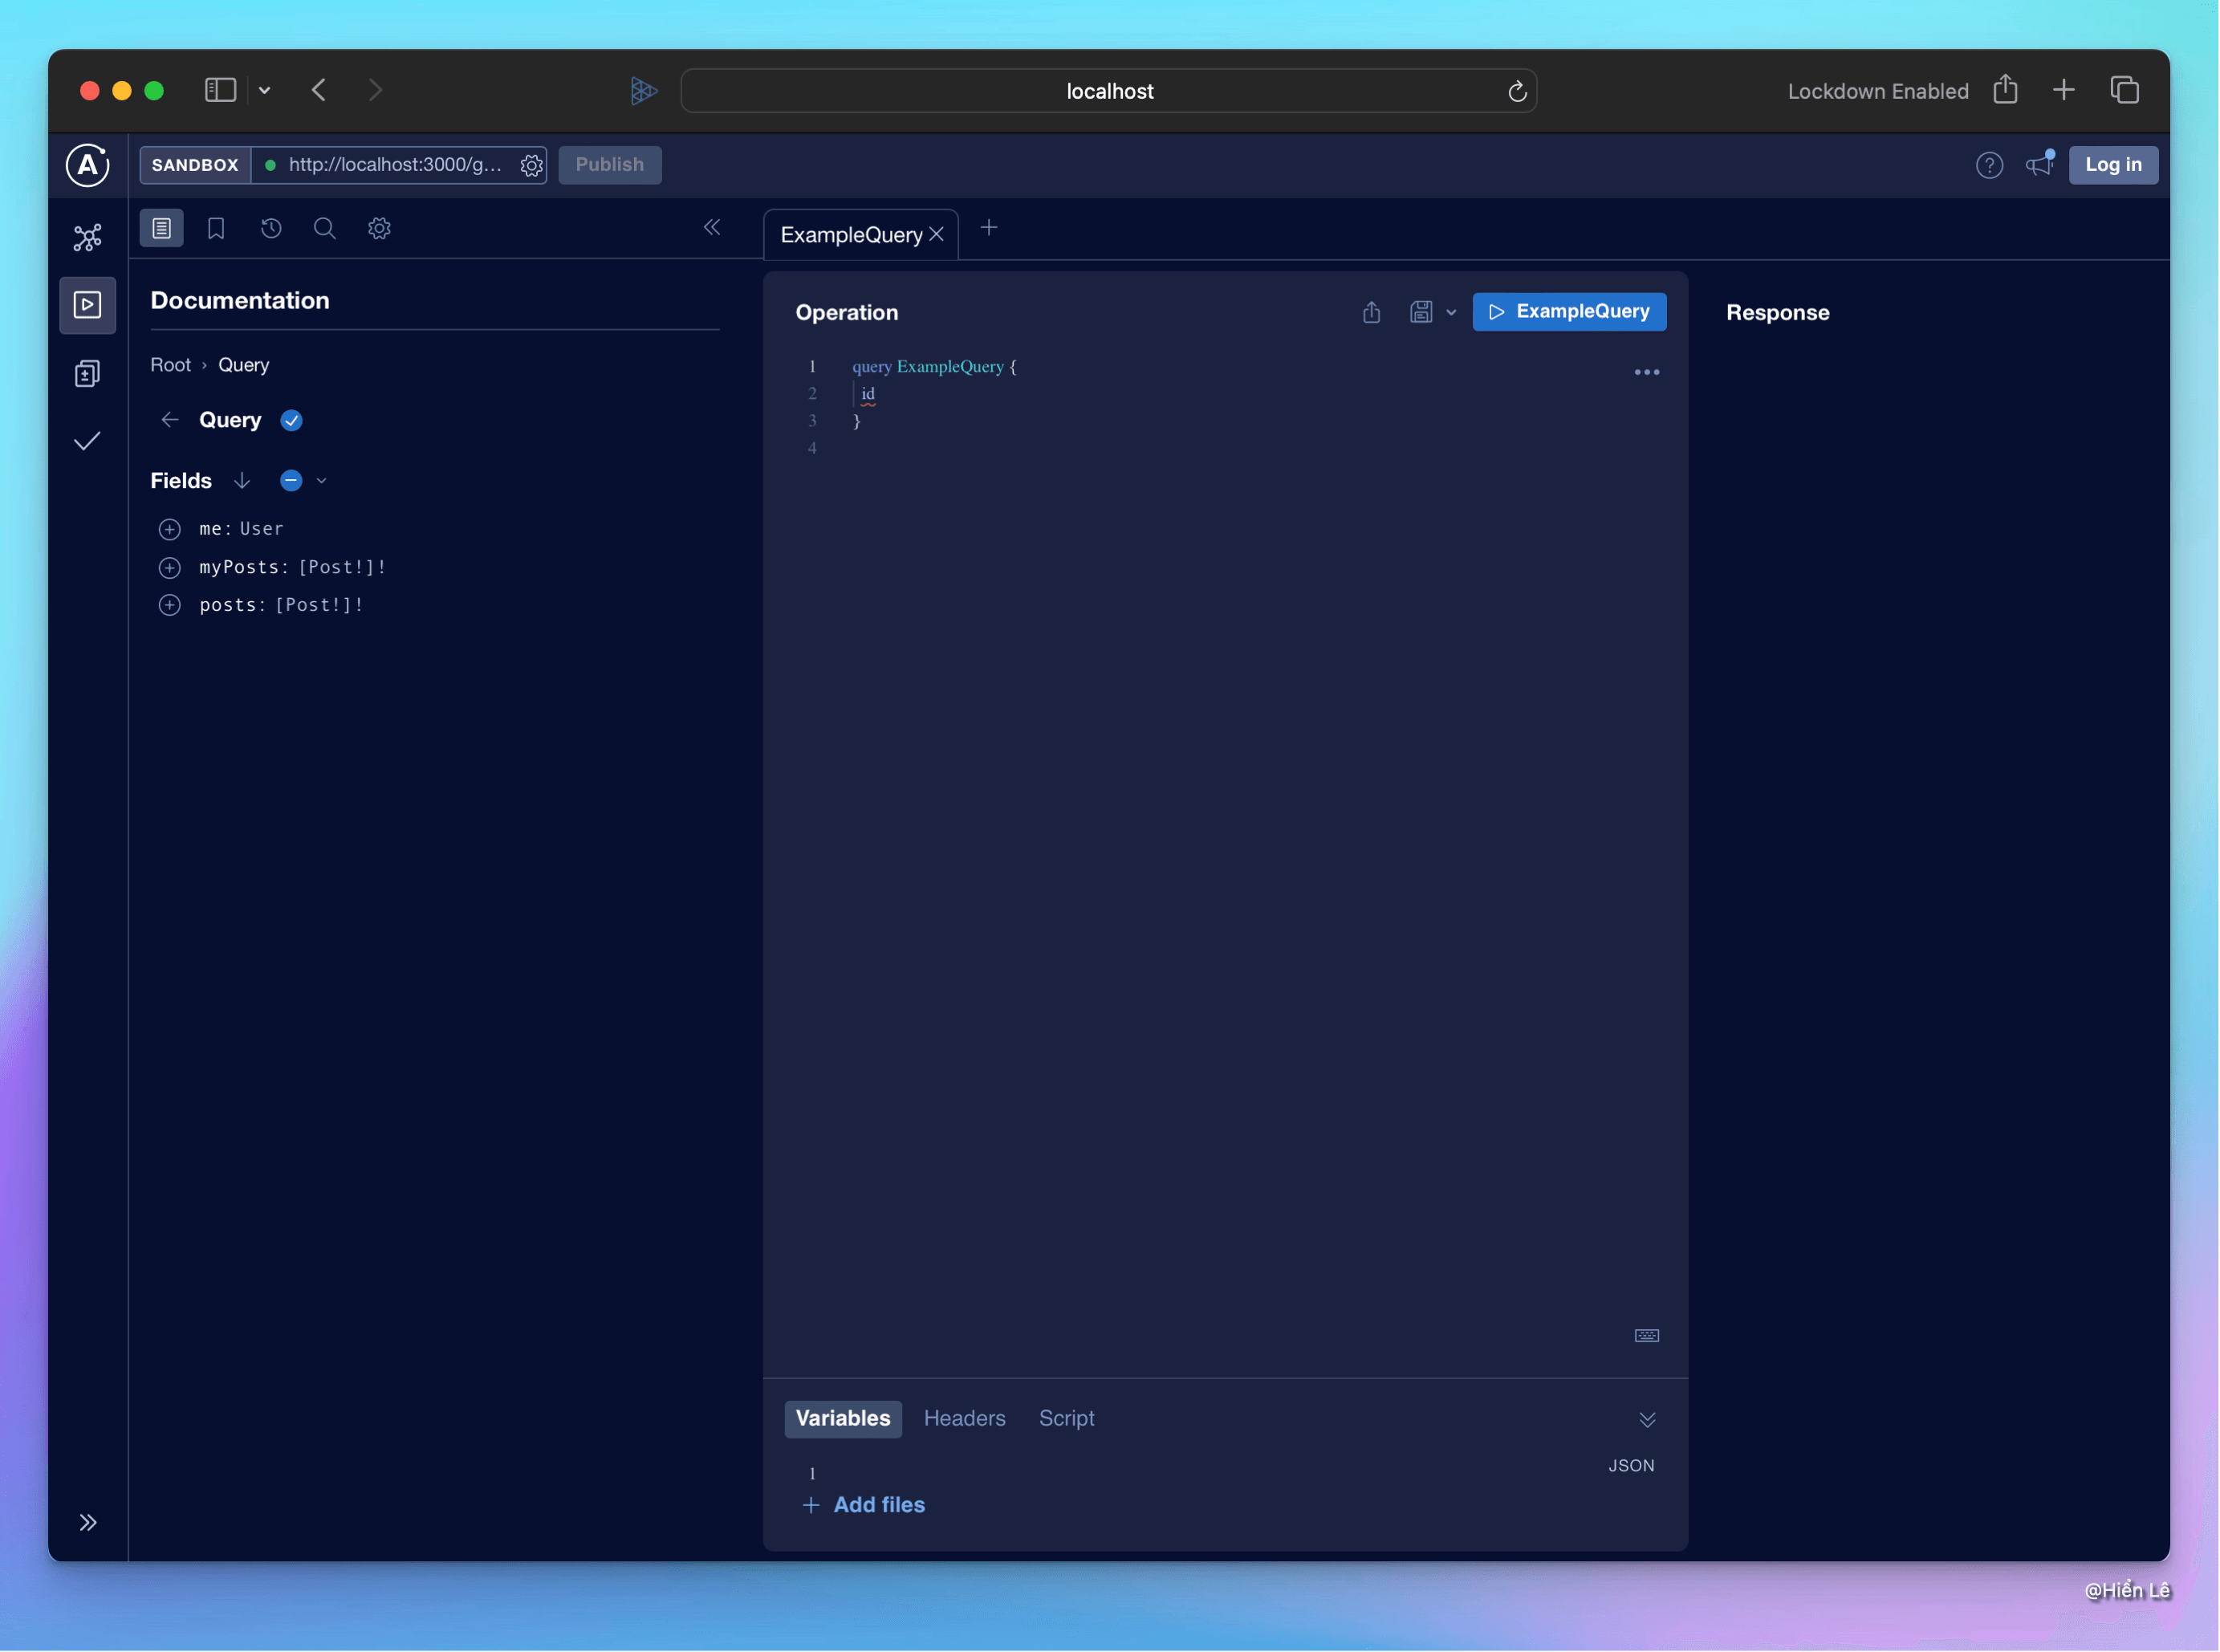
We wrote for you some queries and mutations to test.
mutation Register($registerEmail2: String!, $registerPassword2: String!, $name: String) {
  register(email: $registerEmail2, password: $registerPassword2, name: $name) {
    id
    name
    email
  }
}

mutation Login($email: String!, $password: String!) {
  login(email: $email, password: $password) {
    token
    user {
      email
      id
      name
    }
  }
}

query Me {
  me {
    email
    id
    name
  }
}

query Posts {
  posts {
    id
    title
    content
    author {
      id
      name
      email
    }
  }
}

mutation CreatePost($title: String!, $content: String) {
  createPost(title: $title, content: $content) {
    id
    title
    content
    author {
      email
      id
      name
    }
  }
}

query MyPosts {
  myPosts {
    author {
      email
      id
      name
    }
    content
    id
    title
    comments {
      id
      comment
      author {
        id
        email
        name
      }
    }
  }
}

mutation CommentPost($comment: String!, $postId: Int!) {
  commentPost(comment: $comment, postId: $postId) {
    id
    comment
    author {
      id
      name
      email
    }
  }
}
Don't forget to add the variables for the queries and mutations.
{
  "email": "testtest@gmail.com",
  "password": "123",
  "registerEmail2": "testtest@gmail.com",
  "registerPassword2": "123",
  "name": "Hiển Lê",
  "title": "Post 1",
  "content": "Content 1",
  "comment": "123",
  "postId": 1
}
For a visual walkthrough, check out this demo video:
Stay tuned for the next part of the series, where we'll delve into the frontend implementation. Happy coding!
Here is the final code for the first part: https://github.com/hienlh/fully-type-safe/tree/main/be
Follow and Contact Relia Software for more information!

- coding